
Getting started with RavenDB in Docker for Windows
RavenDB is a NoSQL database which can run on Windows, Linux, Mac OS and in Docker Containers. Running RavenDB inside a container on your developer machine enables you to have the latest version of the database available with minimal setup.
RavenDB has a community license which you can get free of charge. The community license can be used to build a cluster of 3 nodes with 3 CPU cores and a maximum 6Gb RAM. This should be enough for you to play around and learn how to use it.
Prerequisites
If you do not have Docker for Windows installed, follow the first part of my guide on setting it up before continuing with this guide.
Starting the RavenDB Container
Getting the latest version of the RavenDB container from the Docker Store is as simple as running docker pull ravendb/ravendb in command line. This will download the latest image from the Docker Store. If you get an error on authentication, run docker logout in the command prompt and then try running the previous command again.
RavenDB provide a PowerShell script that can be used to run an instance of the container. I've linked to the Linux script since I run Linux containers. Download this script to a location on your machine. Run this script which should result in the below output:
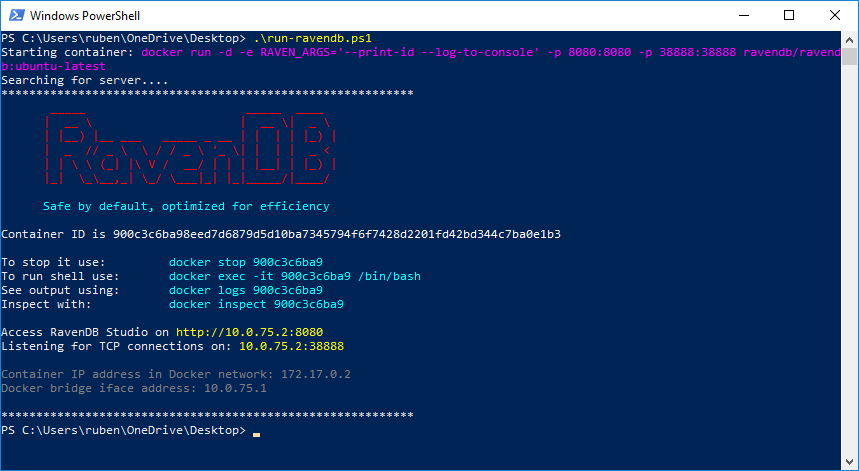
Output from run-linux.ps1
Opening the RavenDB studio link results in the below:
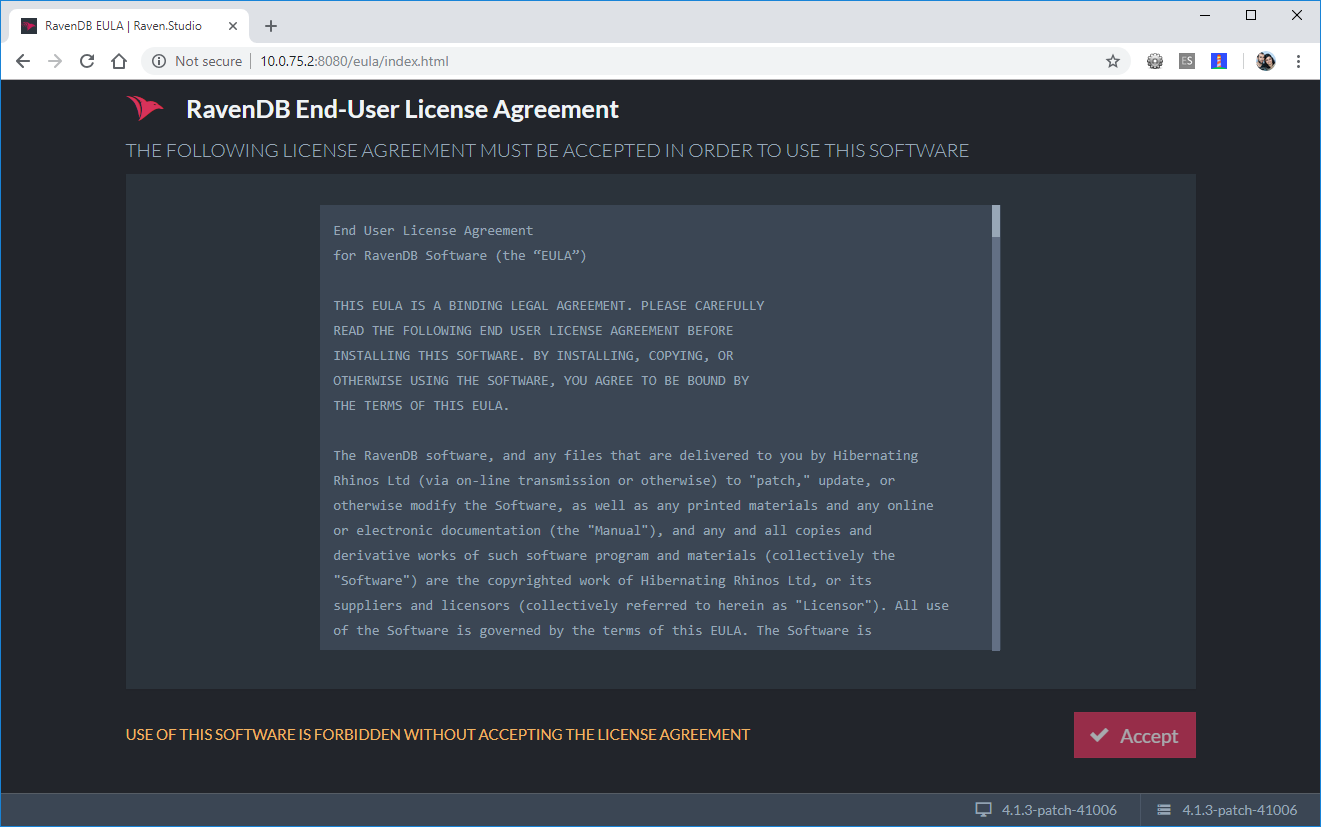
RavenDB End-User License Agreement screen
Accepting the terms and conditions takes you to the RavenDB setup wizard. The wizard provides you with 3 options:
- Using a Let's Encrypt certificate
- Using your own certificate
- Running unsecured
For the purpose of this article I'm going to use the unsecured option. Needless to say, you should run this mode in production.
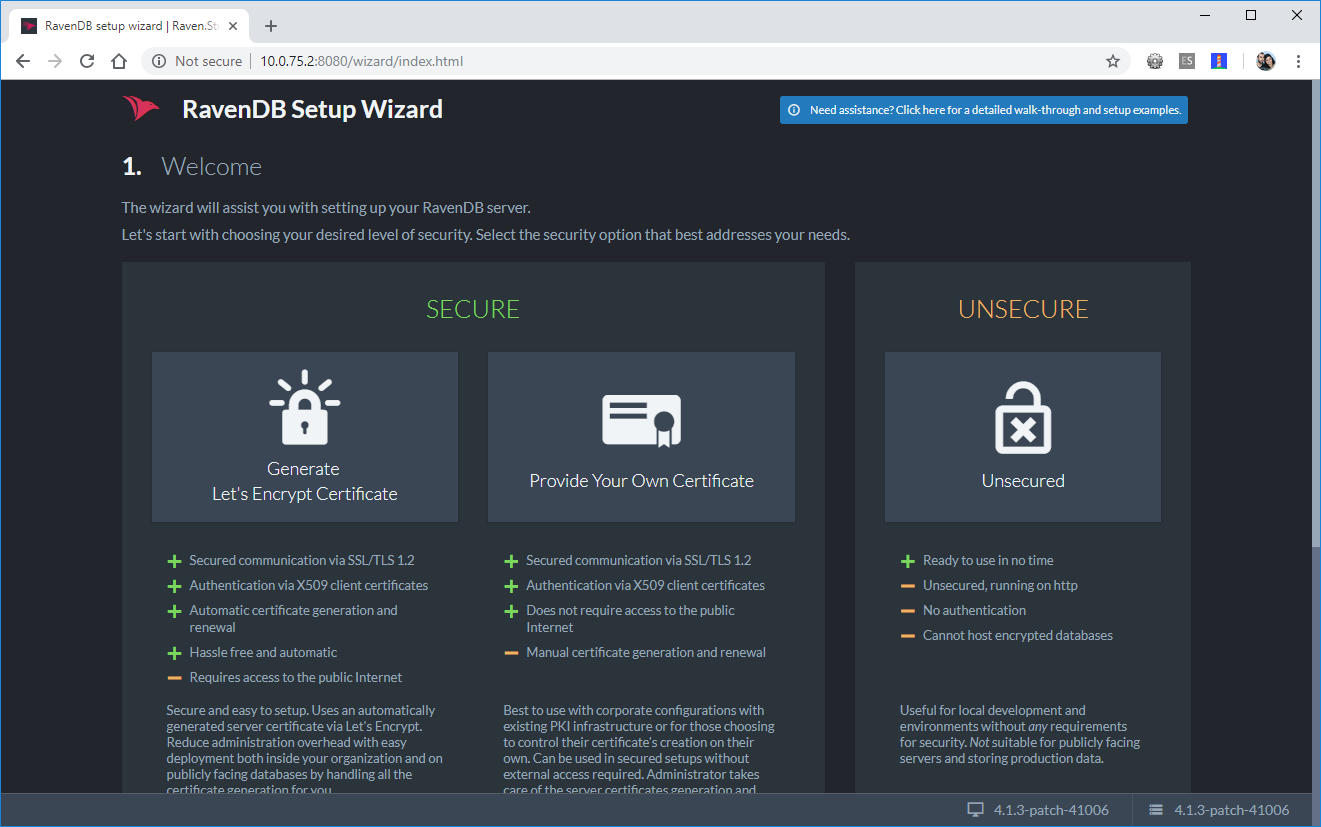
RavenDB Setup Wizard
Select 0.0.0.0 as the IP Address in the next step. Also tick the Create New Cluster option.
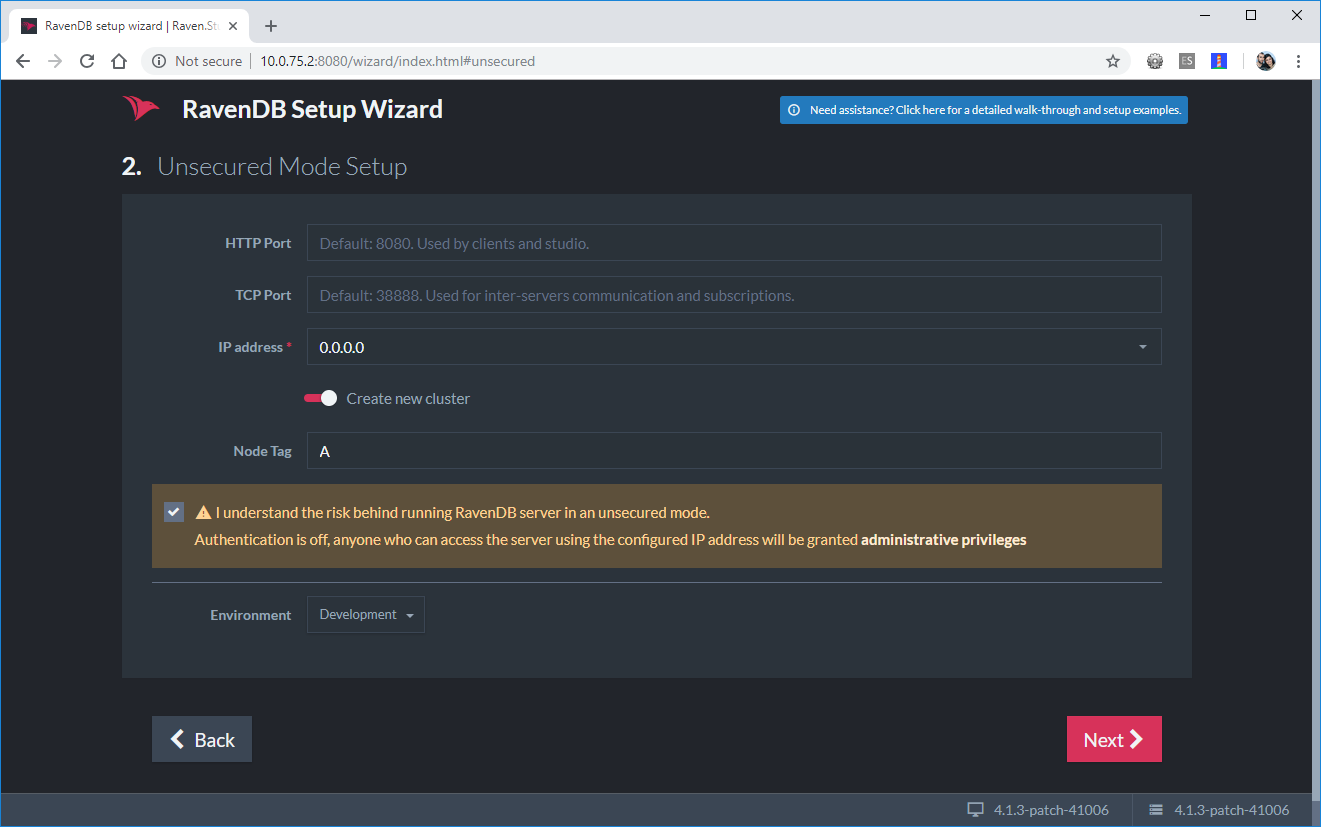
Second step of the RavenDB Setup Wizard
Click the restart server button in the last page of the wizard. You will then be taken to the RavenDB Studio.
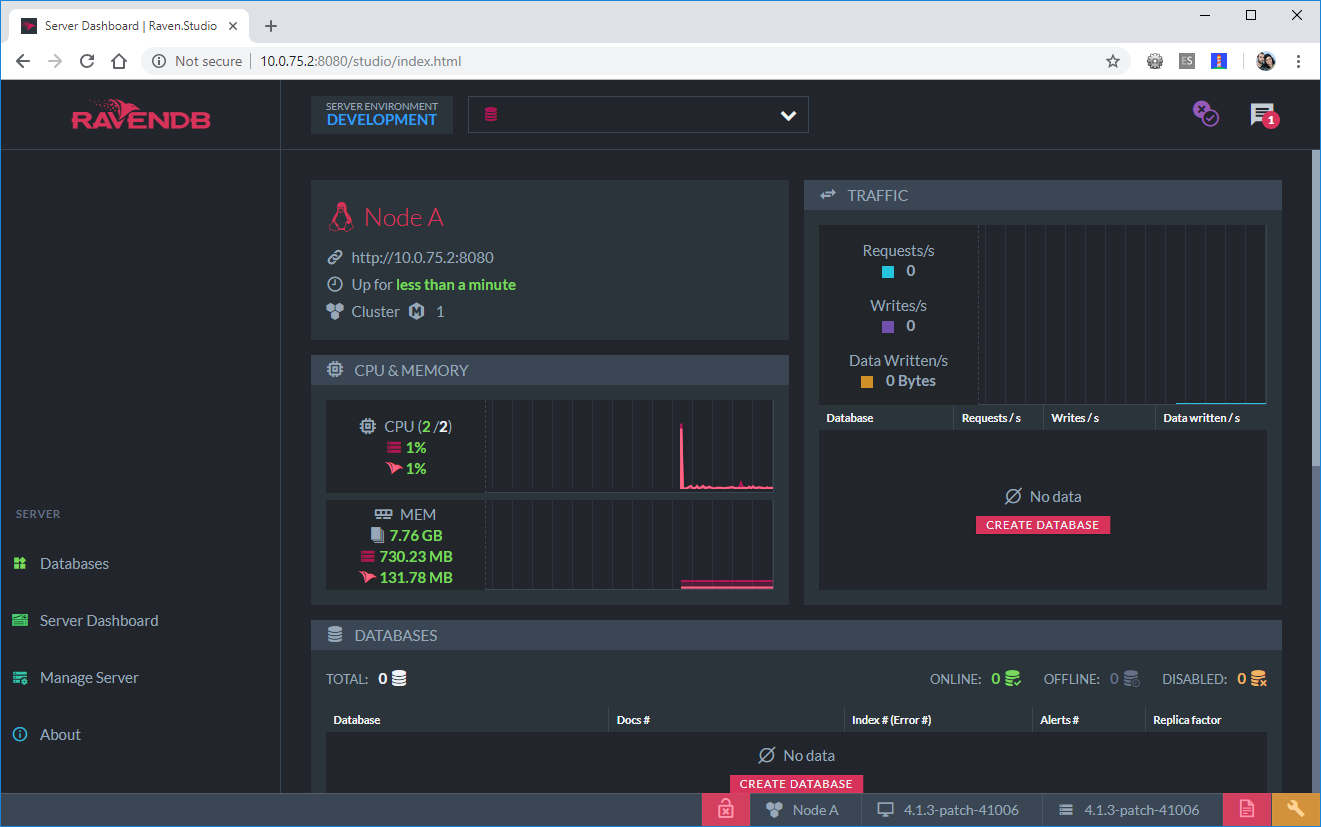
RavenDB Studio
Your First Database and Record
At this point you have a completely blank RavenDB database. Click the Create Database button to open the new database wizard. I named my first database People, however you can name yours as you wish. Leave the other options as is.
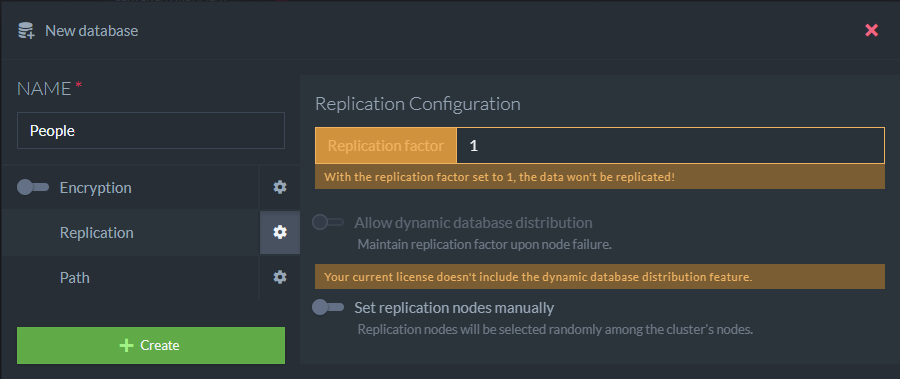
Raven DB Studio - New Database Wizard
Click the name of your database once the database is created. This will take you to documents in your database.
Creating your first record is trivial. Click the New Document button. I put in the following JSON object:
{
    "Name": "Ruben Mamo",
    "@metadata": {
        "@collection": "@PeopleWhoInstalledRavenDB"
    }
}
Click the Save button and you have created your first document in a collection named PeopleWhoInstalledRavenDB. Clicking the collection on the menu will show you all records in your collection.
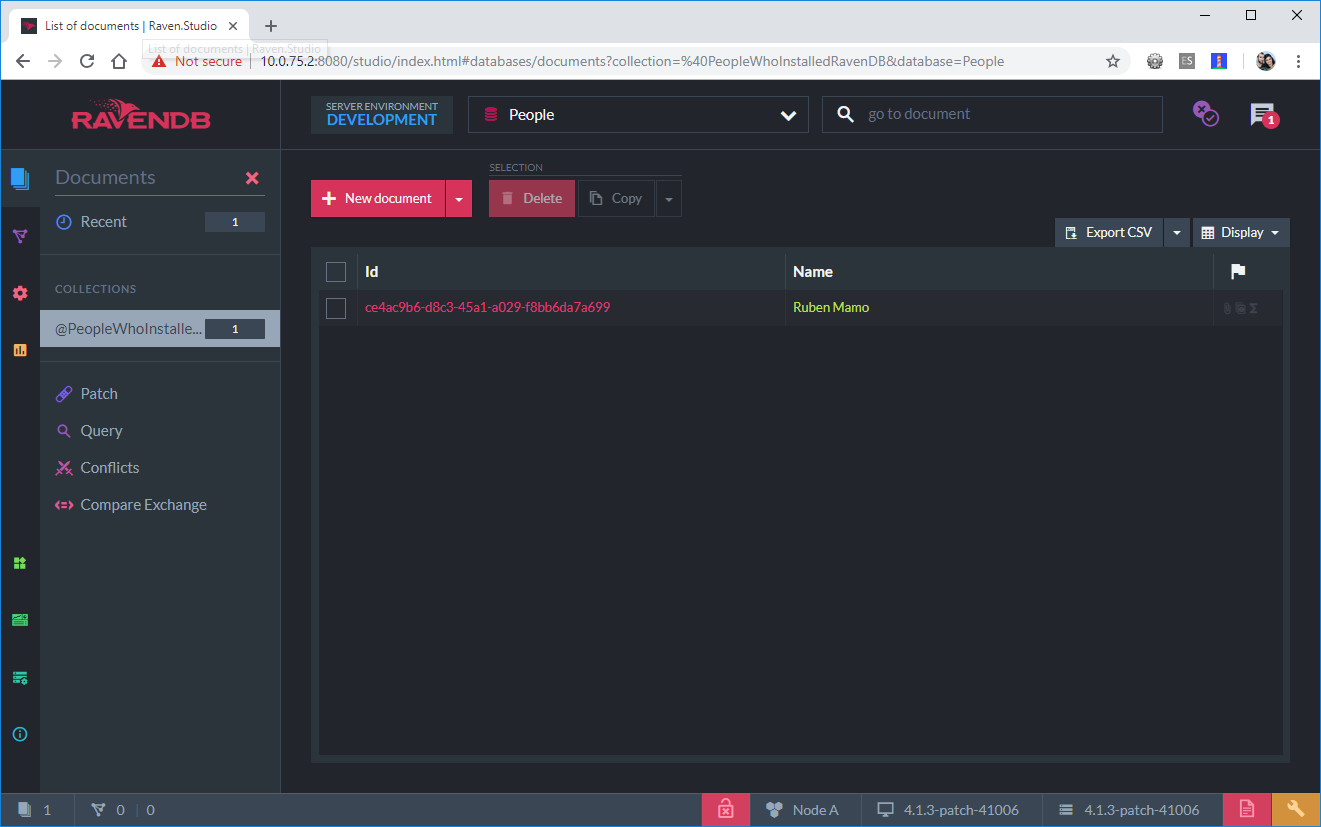
A view of a RavenDB collection
Persisting Your Data
Docker containers will lose data when restarted unless configured to share the storage on your main operating system. You can verify this by running the docker stop command from the PowerShell script output and then running the PowerShell script again. You should end up with the end user license agreement screen again. If you follow the setup instructions you will end up with an empty database. This is a good thing since this will allow you to use a single container image whilst allowing you to run different instances with different databases and configurations.
In order to persist the configuration for the RavenDB container you first need to create a folder where you will store your RavenDB data. I chose C:\RavenDB for this test. Create two folders under this main folder, one named Data and the other named Config.
Create a file named settings.default.json in the Config folder and copy the below contents:
{
  "License.Eula.Accepted": true,
  "Setup.Mode": "Unsecured",
  "Security.UnsecuredAccessAllowed": "PublicNetwork",
  "ServerUrl": "http://0.0.0.0:8080",
  "ServerUrl.Tcp": "tcp://0.0.0.0:38888"
}
Run the PowerShell script again, however this time pass the following parameters: .\run-linux.ps1 -DataDir:C:\RavenDb\Data -ConfigPath:C:\RavenDb\Config\settings.default.json
You will need to setup the database again. Stopping the container and starting it up again will allow you to access the data you had stored. You can now have multiple folders with different configurations and different databases without having to mess around with multiple installations.
This concludes this tutorial on how to setup RavenDB with Docker for Windows. Hope you find this information useful and feel free to leave a comment with any feedback you might have.