
Installing Docker on Windows and setup your first .Net Core website
Docker is the de facto standard for application containerisation. Application containerisation refers to when you run your applications within "containers" under a single operating system. This allows a system to run more apps versus if you had to run each app in its own operating system on a hyper-visor.
This guide shows you how to go about installing Docker on Windows and how to build your first .Net Core website and running it inside a Docker container.
Prerequisites
In order to follow this tutorial you need the following prerequisites:
- You must be running Windows 10 Pro, Enterprise or Education Edition. Windows 10 Home is not supported.
- Virtualisation needs to be supported by your machine. This should also be enabled in BIOS.
- Visual Studio 2017
- .Net Core Installed as part of Visual Studio 2017
Installing Docker on Windows
You can get the latest instructions and the installer from the Docker on Windows website. In order to download the installer you need to create an account in the Docker Store. The Docker Store serves as a repository for preconfigured containers you can install directly.
You'll need to run the Docker for Windows app once it's installed. If you don't have Hyper-V installed, Docker for Windows will ask to install it for you. This will require a restart of your machine.
Verifying that Docker for Windows is installed can be done easily by running the Hello World container. Type docker run hello-world in a command prompt. This should result in the below appearing:
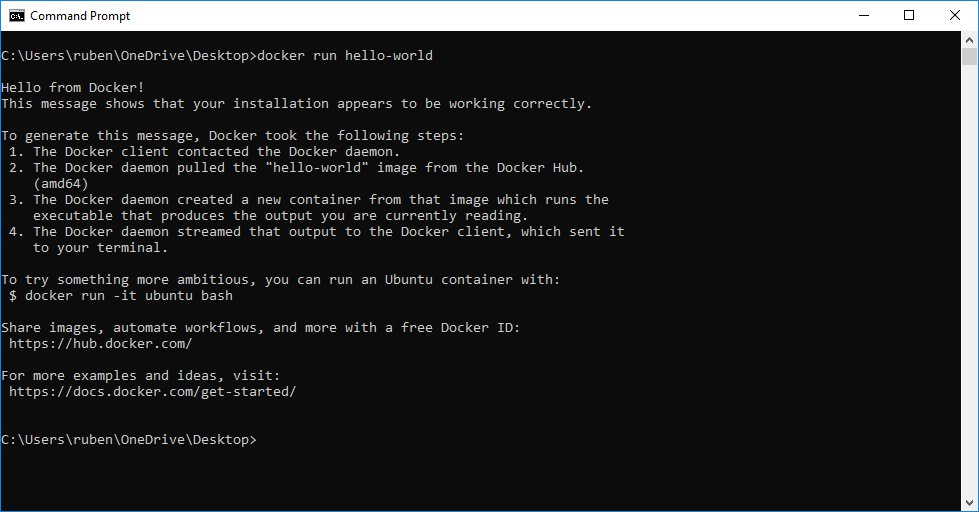
If you get an error on authentication, run docker logout in the command prompt and then try running the previous command again.
Building your first .Net Core website on Docker
Setting up the project
Open Visual Studio 2017 and create a new Project. Choose ASP.Net Core Web Application from the project types as per the below screenshot.
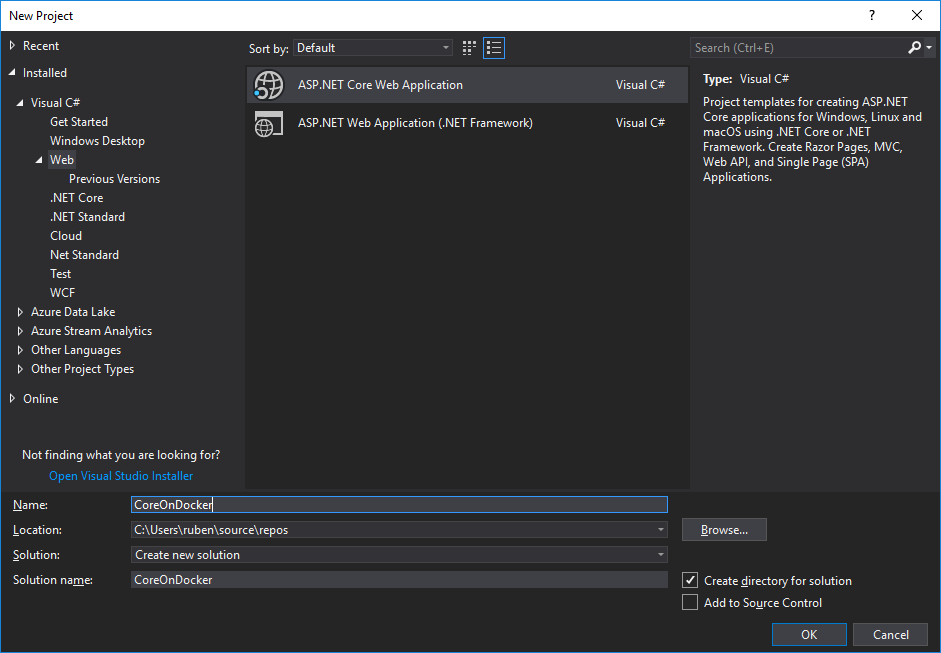
The Visual Studio New Project Wizard
Select Web Application in the next screen. Tick Enable Docker Support and set the OS to Linux. We're using Linux since this is the default OS used by Docker for Windows. You can use Windows, however you will need to change the container types in Docker for Windows as well. Leave the rest of the settings as is
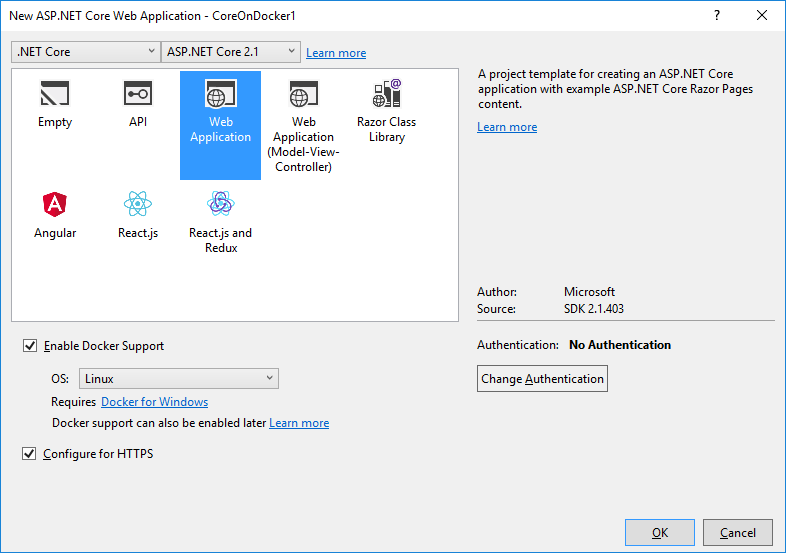
The New ASP.NET Core Web Application Wizard
Running the application in Docker for Windows
A new web application project should now appear in Visual Studio. If you try to debug in Docker you should get an error about volume sharing.
Error CTC1001 Volume sharing is not enabled. On the Settings screen in Docker for Windows, click Shared Drives, and select the drive(s) containing your project files.
The error is pretty self explanatory. The below screenshot shows you how this should be setup. Setting volume sharing will require that you provide your Windows Credentials.
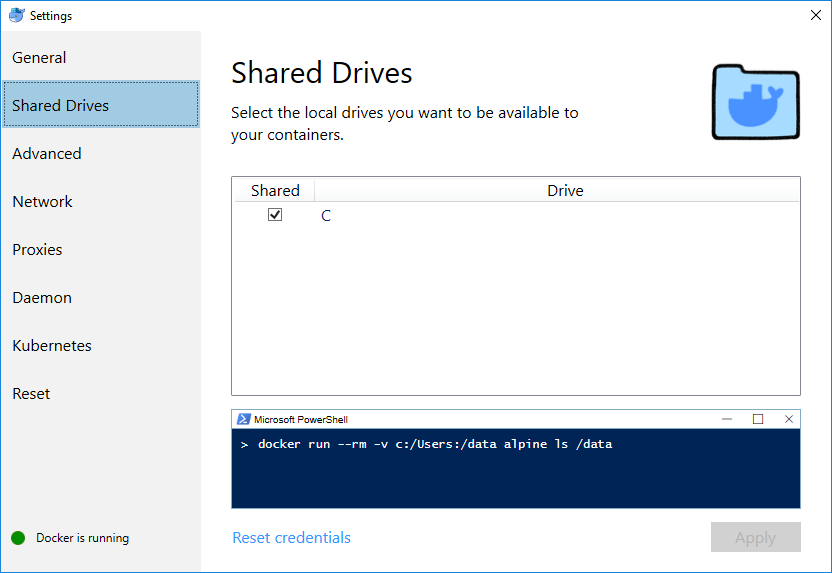
The Docker for Windows Shared Drives Setting Screen
Volume sharing is required so that your application container running inside Docker for Windows can load the latest version of your website from your build folders.
You should now be able to build your application. Once the application is built, click the debug application on Docker button. All the necessary docker images will be downloaded. The container will be built and started. You should then end up with the default website of the sample project as per the screenshot below:
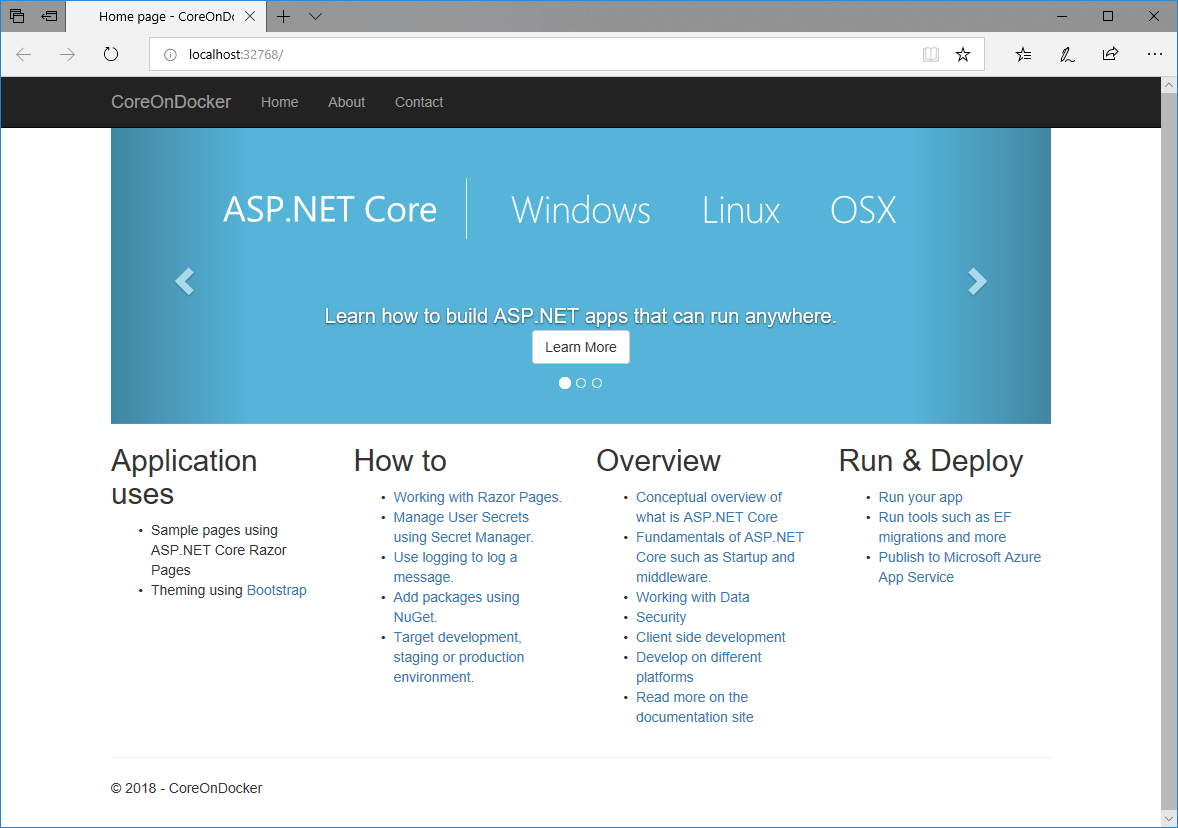
The default page of the sample project
This concludes this tutorial on how to setup Docker for Windows and getting started with a web application. Hope you find this information useful and feel free to leave a comment with any feedback you might have.